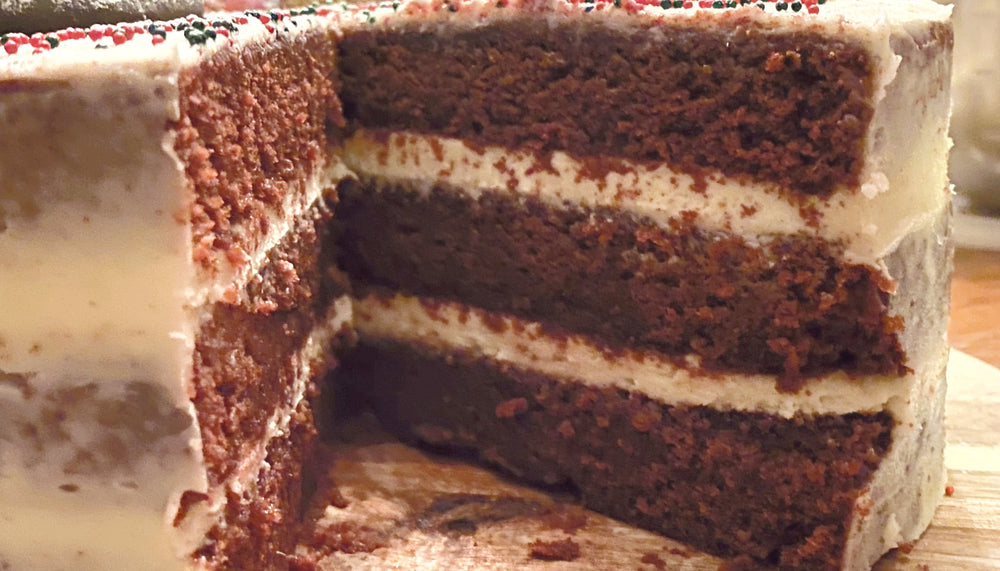
Susgrainable Red Velvet Cake Recipe
Makes 1 cake | 30 minutes prep | 90 minutes total
This cake was a gift from Bruno, Susgrainable’s Head Baker, to celebrate our first year in business. We thought it perfectly fitting to share this recipe in celebration of Susgrainable pivoting online. Our high fibre Upcycled Barley Flour made for a perfect balance of density and moistness. This cake is sure to delight all your guests like it did ours. Enjoy!
INGREDIENTS
Cake
- 1 1/8 cups (140 grams) / Susgrainable Flour
- 3 3/8 cups (420 grams) / all purpose flour
- 2 1/4 cups (480 grams) / sugar
- 4 tablespoons (40 grams) / cocoa powder
- 1 1/4 teaspoons (4 grams) / baking powder
- 2 1/2 teaspoons (12 grams) / baking soda
- 4 eggs
- 1 cup (240 grams) / unsalted butter
- 1 cup (200 grams) / water
- 1 cup (300 grams) / plain yogurt
- 1 tablespoon (15 grams) / organic red food colouring
- 4 tablespoons (60 grams) / apple cider vinegar
- 1 tablespoon (15 grams) / vanilla
Frosting
- 7/8 cups (200 grams) / unsalted butter
- 7/8 cups (200 grams) / cream cheese
- 4 cups (500 grams) / icing sugar
DIRECTIONS
Cake
- Preheat oven to 350F (175C)
-
Combine the sugar, Susgrainable upcycled barley flour, all-purpose flour, cocoa powder, and baking powder. Whisk until well blended and set aside
-
Warm the water and add butter. Mix together until butter is completely melted in the water
-
Mix the food colouring and yogurt together in a separate container
-
Combine all the above ingredients in a Mixmaster. Add in eggs
-
Once well combined, mix in the remaining ingredients (baking soda, apple cider vinegar and vanilla
-
Pour batter evenly into 3 circular 9 inch cake pans
-
Bake for 20-30 minutes, inserting a toothpick until it comes out clean (no batter attached) and then let cool before applying the frosting
-
Allow to cool before stacking and frosting
Frosting
- Beat the butter in a mixer to soften
-
Add the icing sugar and beat until creamy in consistency
-
Add the cream cheese and mix until well combined
-
Apply the frosting to each layer and stack the cakes
-
Apply a final layer on the outside of the cake and decorate however desired. We recommend leaving the sides bare to enjoy the rich colour of the cake